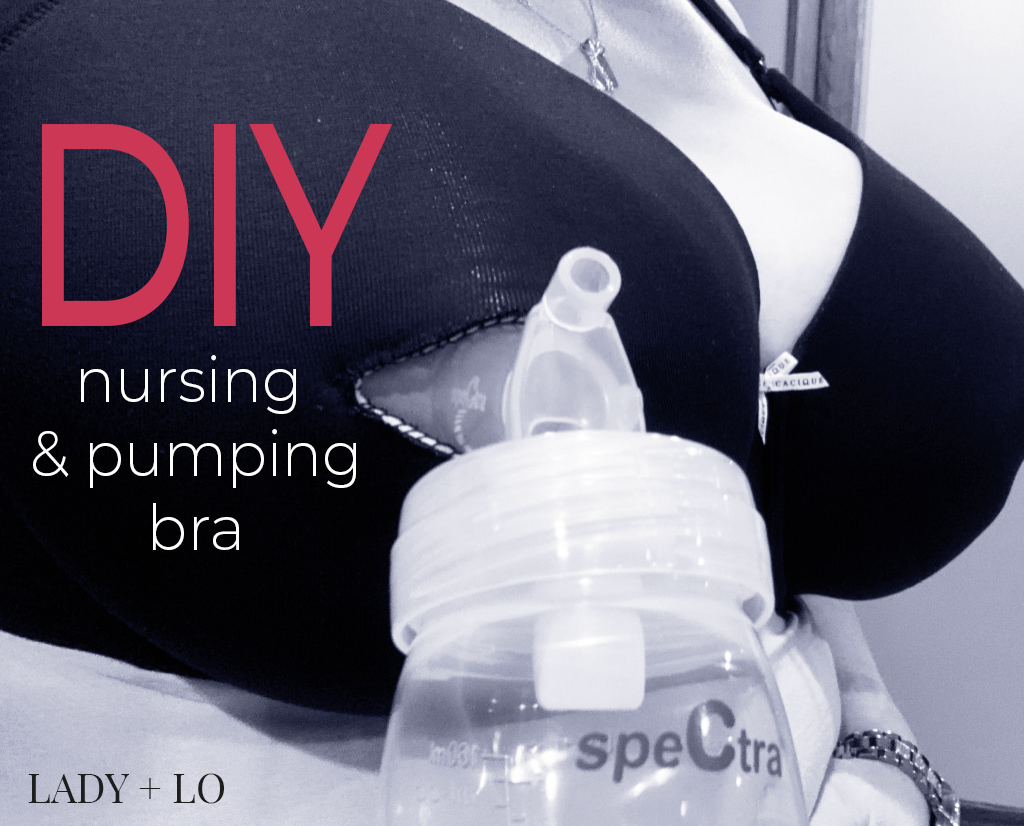
DIY A Nursing/Pumping Bra That Actually Fits AND Makes You Feel Beautiful
Ladies, pumping is hard. Nursing is hard, too. Basically, lactating, in general, is hard. I know I’m preaching to the choir, so I’ll try not to wax too poetic here, but lactating women sacrifice an incredible amount to ensure their LO (Little One) has all the nutrition their goddess bodies can offer.
One of the things I sacrificed when I first started breastfeeding, and exclusively pumping shortly thereafter (undiagnosed tongue tie, lack of transfer, “failure to thrive”, you know, the usual culprits), was my appearance, particularly in the boob-al region. My breasts were fuller than ever, but they’d never looked frumpier.
Call me vain, but I’ve always been super picky about my bras. I have very large breasts (I wear a 40H right now), and it has always been important to me that the girls have all the support and separation they need to lead happy sweat-free lives. I hate feeling the sweaty weight of my unsupported breasts resting on my ribcage and I LOATHE the itchy feeling of my breasts touching one another. Ew. I’m cringing just thinking about how sweaty they got in the hot Texas summers of yesteryear when my grad-student salary couldn’t support well-fitting bras. Some women hate wearing bras, but I hate not wearing bras more. Is that weird? (No, because this is Lady + Lo, and here our truths are totally valid!)
You’re a freaking sorceress, a superhero of epic proportions. You have the power to turn cheeseburgers into a magic elixir that sustains human life. I don’t think I’m exaggerating when I say that you deserve some supportive underwear.
In preparation for my breastfeeding/pumping journey, I purchased a few big-name bras recommended to me by Facebook, Google and every other website with targeted advertisements. The hyped-up bras I purchased from Kindred Bravely and The Dairy Fairy were basically glorified shelf bras. They either let my breasts sag uncomfortably or squished them within an inch of their lives. I’m sure they would be awesome for some women, perhaps women with smaller breasts. They just didn’t work for me. So I tried the Simple Wishes pumping bra, which seems to be the one-size-fits-all standard for pumping mamas. It was okay, but it squished, it was a pain to take on and off every time I pumped, and it made it virtually impossible to massage. I considered adding pictures of my sad breasts in each of these bras to illustrate my point. I chose not to. You’re welcome.
Anyway, after the disappointment of the name-brand nursing/pumping bras, I started an extensive (and unsuccessful) Google search for “supportive pumping bra” and “pumping bra for large breasts” and “pumping bra that isn’t f***ing sized with S, M, L because those sizes are f***ing insufficient”. Okay, I didn’t actually type the last one into Google. But it’s definitely how I felt.
Then, because I’ve always been handy with a needle, I searched for “DIY nursing/pumping bra”. I found this post by Jan Andrea on SleepingBaby.net, which illustrates how to convert a regular bra into a nursing bra. I also found this post by Sarah & Jessica of PrettyProvidence.com that gives instructions on how to convert a zip-front sports bra into a pumping bra. Neither solution alone would work for me, but I knew that I could combine the ideas into something that just might work. So I experimented, and my results were beautiful! (You’re reading this, so you can’t hear me, but imagine I said “beautiful,” in my best Paul Hollywood British accent!)
So, I feel like I should share this process so other women can feel as empowered as I do. In the online breastfeeding/pumping support groups that I’m a member of, I see women ask all the time for recommendations for a supportive bra. My favorite description written by a fellow momma was “I would like my bodacious boobies to look a little higher & more shapely.” Well said! I’m writing this post for you, momma.
Converting a regular bra into a pumping/nursing bra is not especially difficult and only takes an hour or two. If you don’t want to convert it yourself, ask a family member, a friend, or the tailor down the street to convert it for you. Take it from a self-proclaimed bra snob, it’s totally worth it!
Okay, I’m done rambling. Here’s how to convert a regular bra into a nursing & hands-free pumping bra!
Step 1: Assemble supplies

What you’ll need:
- A bra that fits you. In this tutorial, I’m using an underwire bra with light foam padding from my favorite intimates brand, Cacique. Cacique is the sister-brand of Lane Bryant (and available in stores as well as online). It specializes in plus-sizes, but it carries a full range of band sizes from 32 to 50, cup sizes A to K. (I’m not getting compensated in any way to endorse Lane Bryant or Cacique. I’m just a long-time happy customer!) You definitely don’t need to choose a Cacique bra (or an underwire bra, or a padded bra). You do need to choose a bra with elasticity in the cups, though, since your breasts change in size as you fill up with milk. Every woman has a favorite brand, a favorite style. Find a bra that works for you and makes YOU feel supported, comfortable, and beautiful.
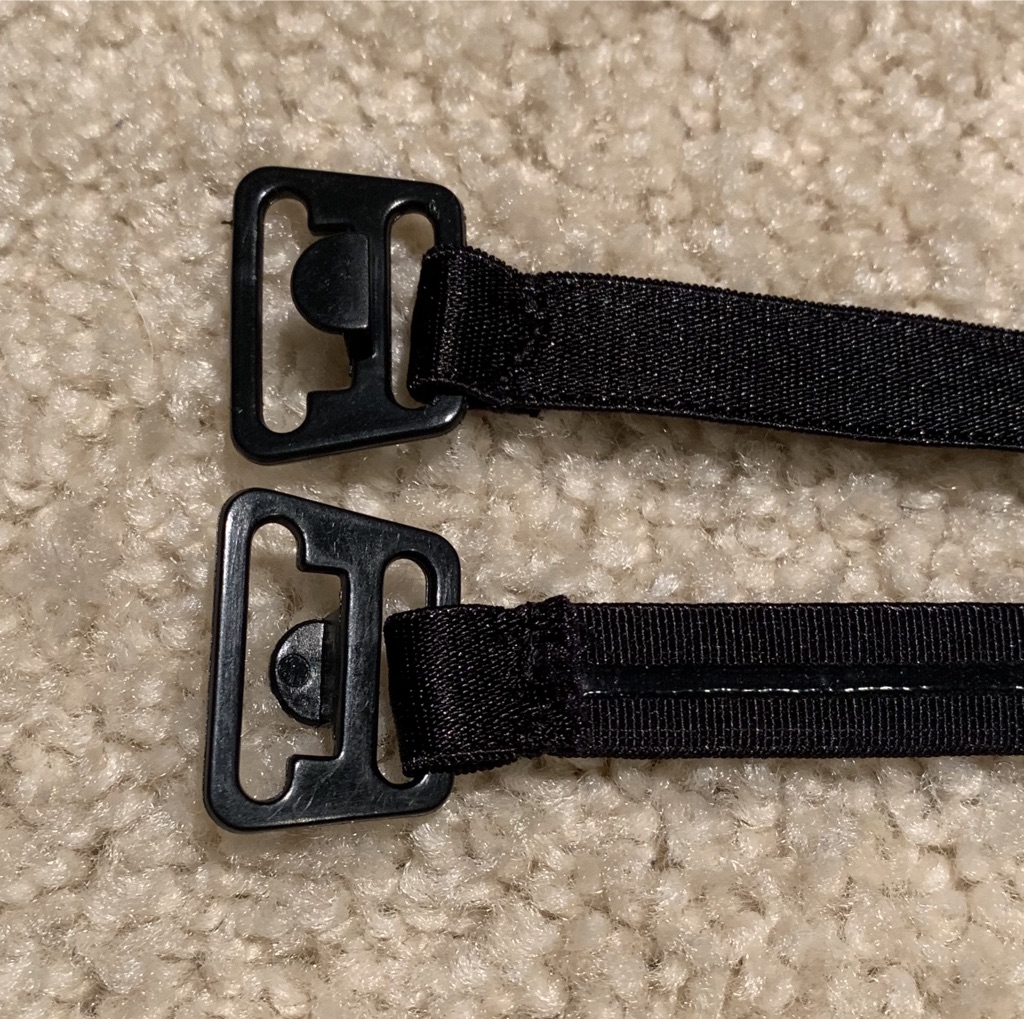
- Two sets of nursing bra clips. A nursing bra clip has two parts: the top part that has a hook (I will call this the “hook part”) and the bottom part that clips on to the hook (I will call this the “eye part”). You will need two hook parts and two eye parts (one set per strap). These clips come in several sizes (3/8 inch, 1/2 inch, etc.). The size relates to the width of your bra strap. In this tutorial, I use 3/4 inch clips that I bought from here, but there is a wider selection of colors and sizes available here. The 3/4 inch clips are a little too narrow for the straps on my bra, but with a little finagling, I’ve made them work. If you don’t want to buy new clips, you can definitely cut clips out of an old nursing bra or tank that you don’t wear anymore.
- About 16 to 17 inches of robust elastic. In this tutorial, I am using the elastic from a stretchy sports headband that I found in my make-up drawer (I have no recollection of putting it there). On other bras, though, I’ve used or considered using old bra straps, removable straps from an old swimsuit, stretchy drawstrings, the elastic from the waistband of an old pair of shorts, etc. Of course, you could buy actual lingerie elastic, but why bother when you can be resourceful?
- Thread that matches the color of your bra. All-purpose thread is fine, you don’t need anything fancy. Avoid using plastic transparent thread for this project. It’s itchy!
- A hand-sewing needle. A heavy-duty needle is preferable, but any needle will do in a pinch.
- A pair of sharp scissors. You’ll want to cut through your bra without making a mess. Use your sharpest scissors!
- Optional: Seam ripper: You’ll need this tool if the bra you’re trying to convert has adjustable slider straps in the front (more on this later!). This super-cheap tool (usually costs a few dollars or less) helps to “rip” out stitches that have previously been sewn. This tool is the best friend of amateur seamstresses because it allows us to fix the mistakes we make when we sew. If you don’t have access to a seam ripper, a pair of nail scissors from your manicure kit will work in a pinch.
- Optional: Sewing pins. If you don’t have pins, extra needles or safety pins will do the same thing!
- Optional: A thimble. Sewing through fabrics this thick can be difficult to do by hand. A thimble is not necessary but will make sewing more comfortable on your fingers.
Alright! Once you have all your supplies, we can get started. Let’s go!
Step 2: Prepare the Elastic
If you’re using a headband as your elastic, cut it into two halves, as seen below. If you’re using some other kind of elastic (lingerie elastic, an old bra strap, etc., etc.), you’ll want strips that are about 8 and 1/2 inches long.

Once your strips are cut, insert one end of each strip into the lower hole of the hook clip. Fold under about 1/4 of an inch of the elastic so the elastic encases the clip. Sew together using about 10 stitches. These will have to hold the entire weight of your breasts when the bra is unclipped, so make sure they’re sewn securely!
Many years ago, my grandma shared a little tip about hand-sewing: always double-up your thread. Doubling your thread gives you twice the strength per stitch and often allows you to use fewer stitches (especially when sewing on buttons!). To double-up your thread, you should thread your needle as usual, then tie both ends of the thread together in a knot. The needle should then be trapped in a big loop of thread, as seen in the photo. I find that when I don’t double-up, the needle slips off the end of the thread and I need to re-thread frequently. It’s super annoying. This method prevents that from happening!

A Fork in the Road…
For the next few sections, the instructions differ depending on the type of bra you’re converting. There are two types of bras (for the sake of this post): bras with solid straps just above the cups and bras with adjustment slider hardware just above the cups. For the next set of instructions, click on the photo with the straps that look most like yours!


